After eight years of using WordPress, I finally decided it’s time to rid myself of the cumbersome, error-prone beast in favor of a static website. I rarely post blog entries anymore, so the convenience of the WordPress text editor and dynamic content has lost its appeal, especially since this website now primarily serves as a digital portfolio. After far too much research (i.e. perusing Reddit threads), I decided to use a static site generator to create and maintain the new website.
I already have some experience with static site generators, since my Science GIFs archive uses GitHub Pages, which is powered by Jekyll. As I was learning about the transition from WordPress, I ran across another Markdown-based static site generator called Hugo that claimed to be the “world’s fastest framework for building websites.” Unlike Jekyll, which requires Ruby to operate, Hugo is a compiled Go program that only requires the download of a single binary for easy setup regardless of operating system. While build times are irrelevant for small websites such as my own, I figured it would be a good experience trying a completely new framework.
![]()
Hugo Setup Link to heading
Thanks to the magic of the Homebrew package manager for macOS, installing Hugo is even easier than downloading the binary from their website:
brew install hugo
I generally followed the Quick Start guide to initialize the website and select a theme from the expansive gallery. Because I intended to turn my website into more of a digital portfolio and less of a blog, I wanted a theme with a minimalist static frontpage. I eventually settled upon the simple Hugo Coder theme.
Migrating from WordPress Link to heading
In order to transition my WordPress content to Hugo, I utilized the blog2md utility. This Node.js program takes the .xml file exported by WordPress’ backup tool and converts each page and post into individual Markdown files, maintaining the formatting, timestamps, and tags reasonably well. Unfortunately I had to go through each entry and manually correct line breaks and update image urls to be compatible with Hugo’s directory structure.
Instead of dumping all of my images into the /static/image directory, I opted to create individual subdirectories for each page (Leaf Bundles) to keep related content better organized.
content
└── posts
  └── hello-world
    ├── index.md
    ├── image_1.png
    ├── image_2.png
While this requires moving the migrated Markdown files from posts/hello-world.md to posts/hello-world/index.md, it permits easier linking to photos/files since they are now in the same directory. This also avoids an asset management nightmare where all the images would typically be located elsewhere in the /static/ directory.

Image Galleries Link to heading
Several of my blog entries utilized WordPress’ media features to create organized image galleries for displaying content. While Hugo and the Coder theme lack native image grid layouts, there are numerous custom shortcodes that offer such features. One such implementation is Hugo Easy Gallery, which can easily create responsive, Photoswipe-powered image galleries with a single shortcode.
In order to recreate the layouts used in my WordPress content, I had to modify the gallery.html shortcode and the hugo-easy-gallery.css stylesheet to explicitly control the number of images displayed per row in a gallery. Specifically, I wanted to be able to display either two or five images per row with the option to display full-size images without cropping. I also had to slightly modify the handling of image paths to accommodate for leaf bundles.
Here’s an example of a gallery with two wide images per row (4:3 aspect ratio):
{{< gallery dir="demo-2x1/" class="hugo-two-wide" />}}


And a gallery with five square images per row (1:1 aspect ratio):
{{< gallery dir="demo-5x1/" class="hugo-five" />}}


You can see examples of galleries in action on the following posts:
Transfer Disqus Comments Link to heading
I was never a fan of WordPress’ commenting system, so I’ve used Disqus to host and moderate comments on my website for years now. This made the transition to Hugo even easier since it natively ships with an internal Disqus template that is configured simply by adding your disqusShortname to the configuration file. However, because I decided to change the permalink structure from /blog/YYYY/MM/DD/title to /posts/title, I had to use the URL Mapping tool to link existing comments to their respective pages on the new website.
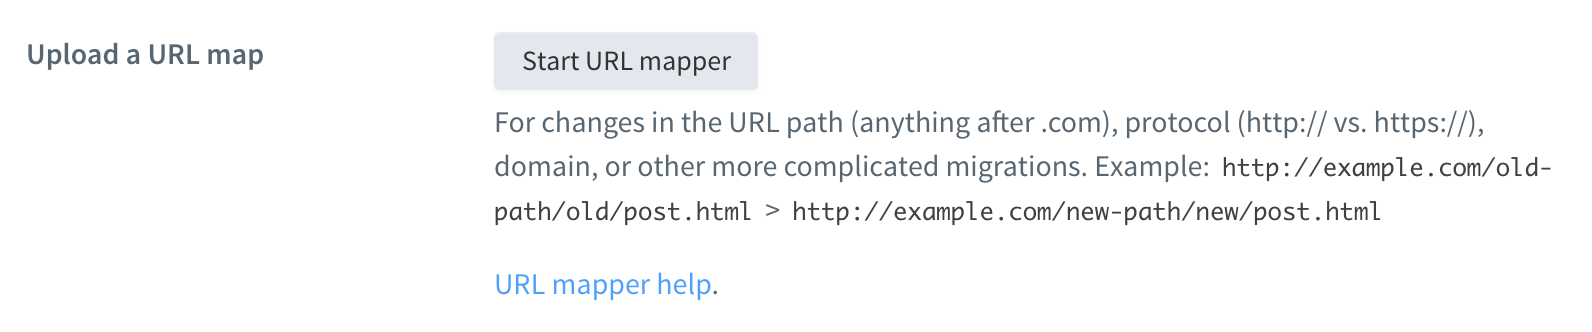
Functionally, this is performed by exporting a CSV file listing each URL that has existing Disqus comments and simply adding the new URL as the second element in each row. Uploading the modified file back to Disqus results in the permanent remapping of the comments to the new URL schema.

Automating Deployment with Travis CI Link to heading
Obviously, one of the major advantages of WordPress is that hitting the “publish” button results in your new content automatically appearing without requiring any intermediate steps. Unlike Jekyll, which is heavily integrated with GitHub Pages for streamlined use, Hugo requires a little more effort to host and deploy online. By far the easiest option is to use Netlify to host your Hugo site with their CDN and continuous deployment through your version control system of choice. However, if you already have a server or need to run other dynamic pages alongside your static Hugo content, then it’s not an optimal solution.
After deciding that I wanted something a little more automatic than manual deployment with an Rsync script, I ran across this excellent guide on how to deploy Hugo through SSH with Travis. (If that sounds like I just made up a bunch of words, that’s how I felt the first time learning about it.) For the uninitiated, Travis CI is a “continuous integration service” used for automatically building and testing projects hosted on GitHub. Each time a new commit is made to the repository, Travis will build the Hugo site and deploy the resulting files to my hosting provider using rsync. My latest Travis configuration file can be found here: .travis.yml.
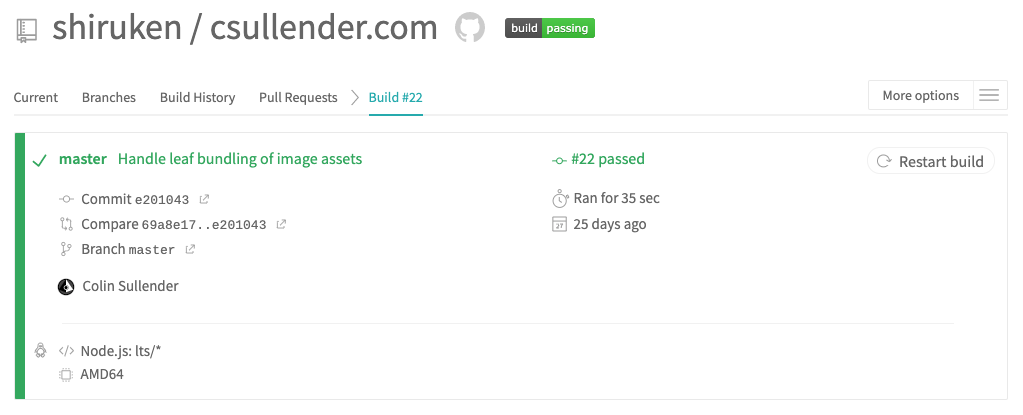
The end result is not that dissimilar from the WordPress experience: When I “publish” a change to GitHub, my website is automatically updated without any further input (except for the occasional debugging 😅). With the exception of a few dynamic pages (i.e. PHP), my website is now entirely static and eliminates the headache of dealing with WordPress or backend issues on my cheap hosting service.